Our guide will walk you through the process of how to design your t-shirt, ensuring your final product is exactly as you envisioned. Creating a personalized t-shirt that reflects your style and personality has never been easier, thanks to Pinehart’s intuitive Customizer tool. Whether you’re looking to make a bold statement or simply want a one-of-a-kind piece.
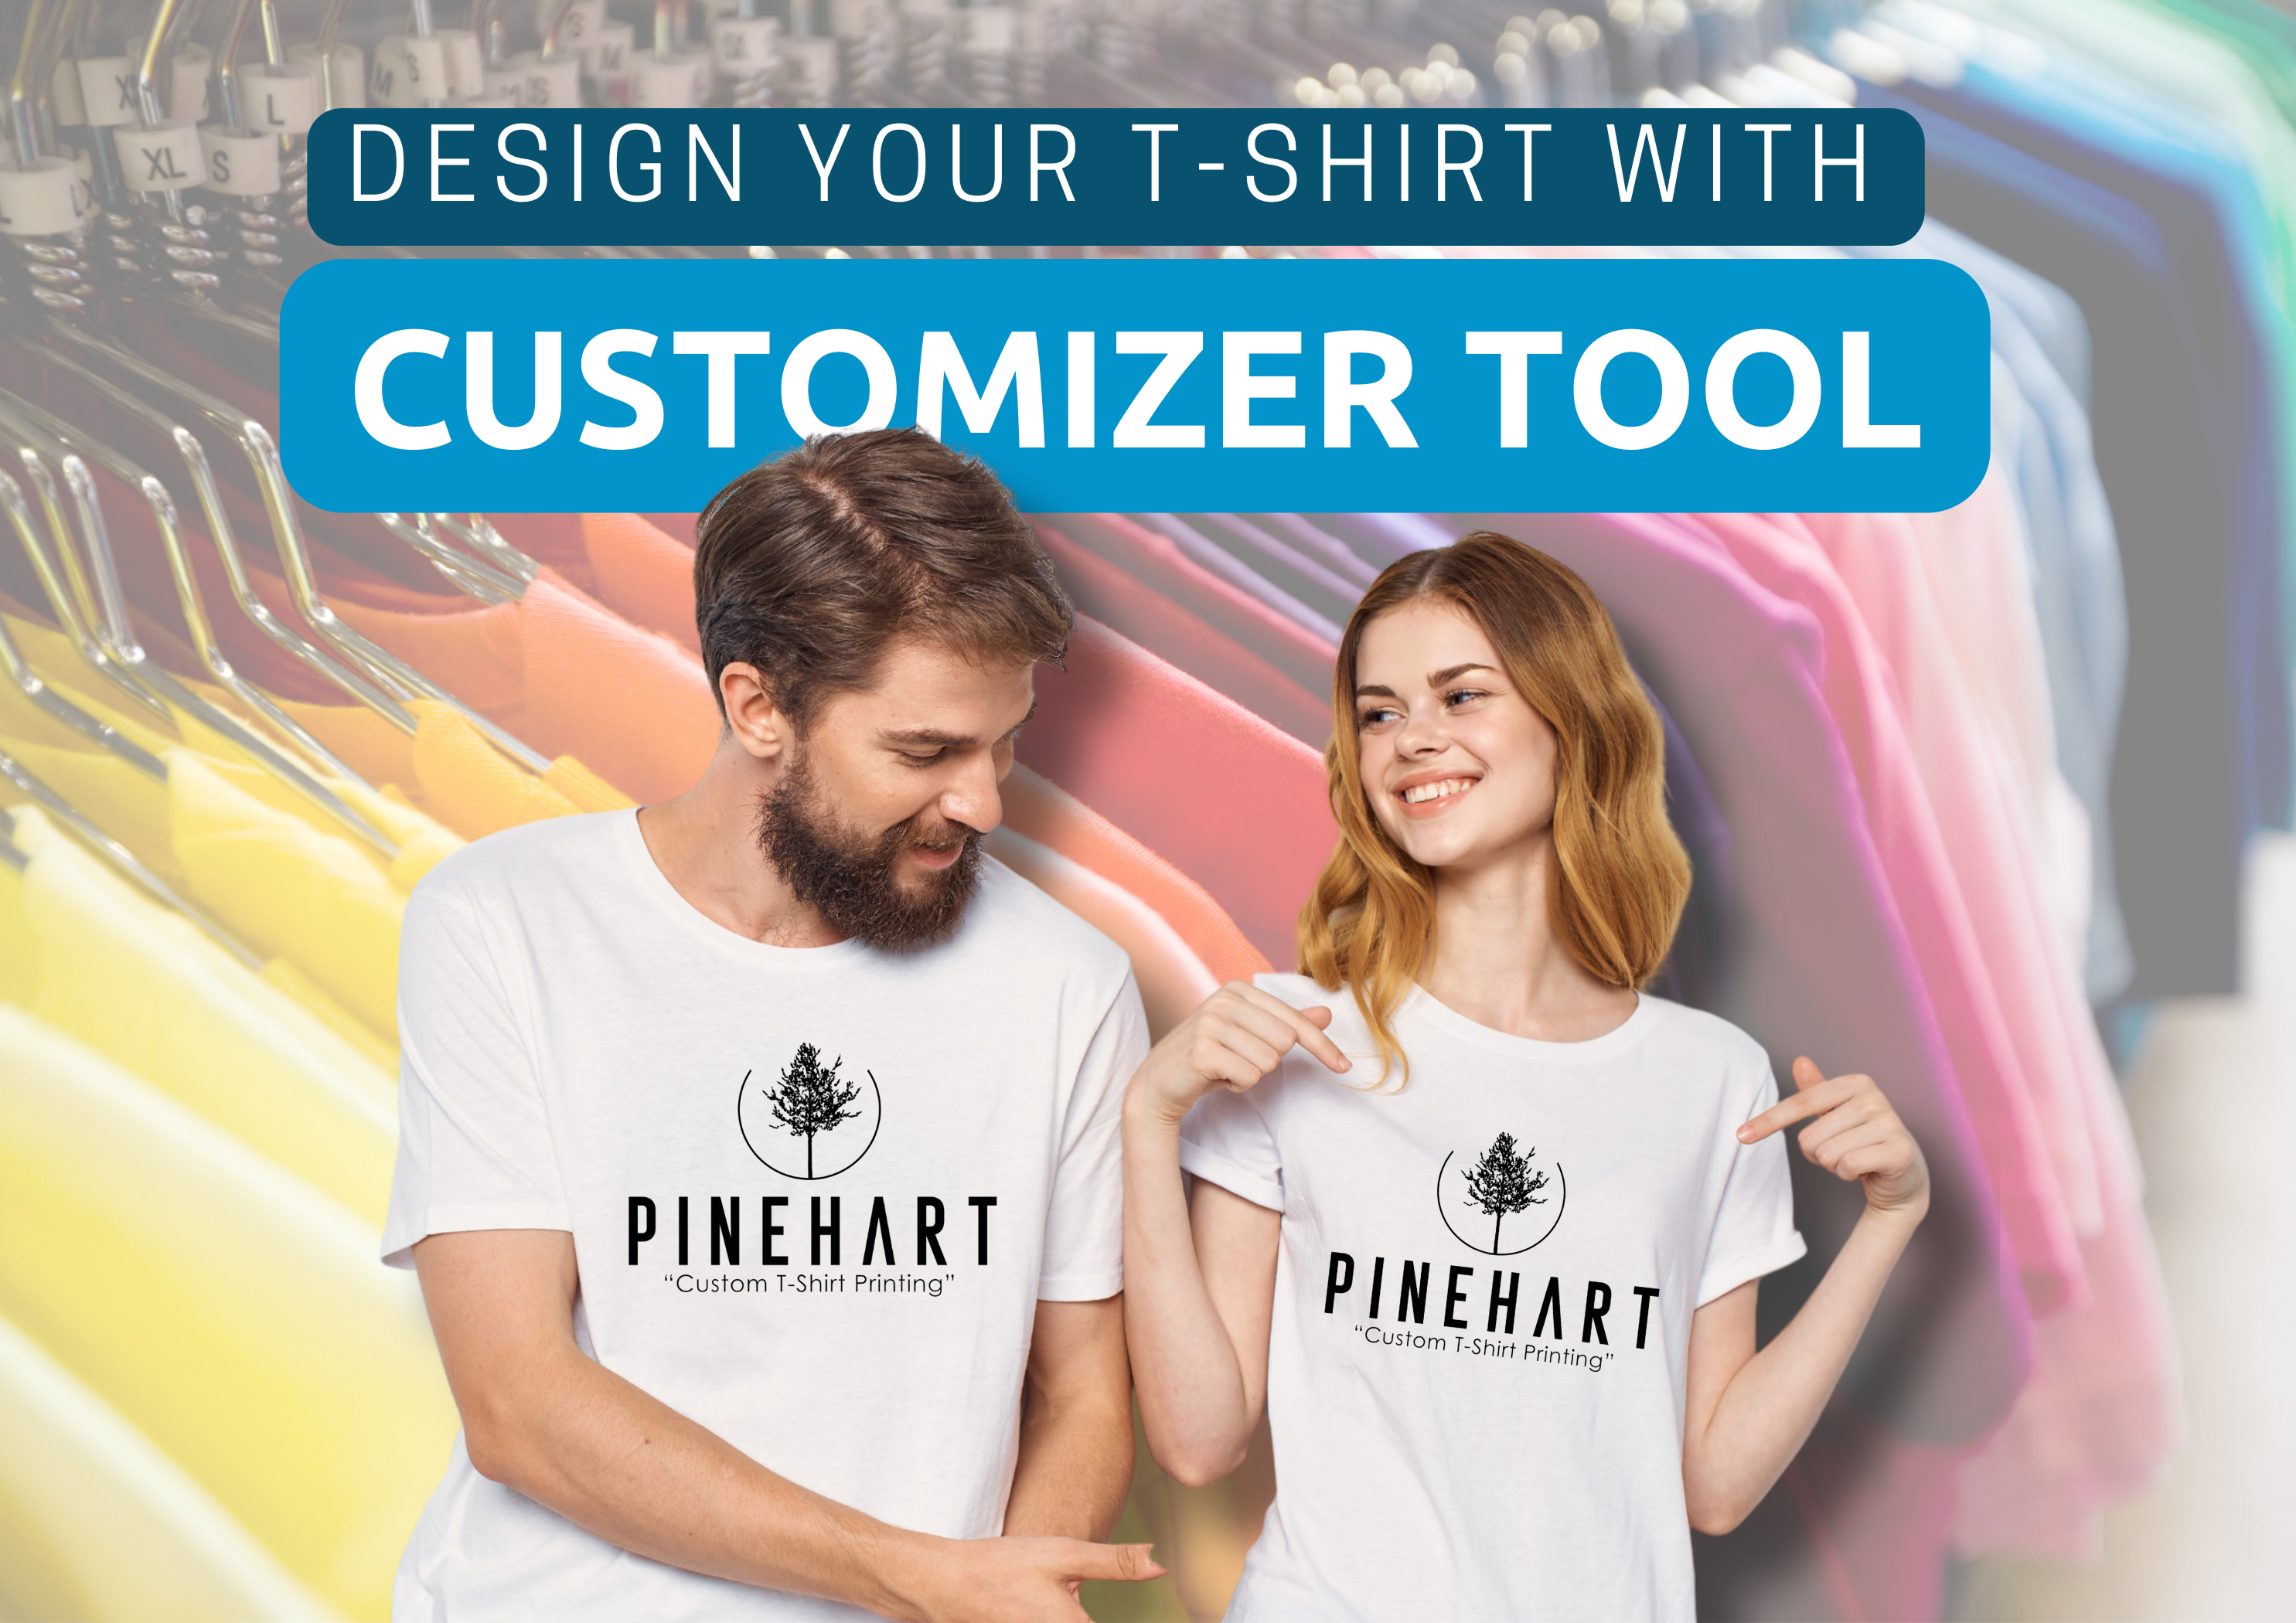
Customizer Tool in 6 Steps
Get ready to unleash your creativity with Pinehart!
Step 1: Access the Customizer Tool
For start to Design Your T-Shirt, visit the Pinehart website and navigate to the “Custom” section. This dedicated area allows you to begin your creative journey. Here, you’ll find the option to select the “Start Designing” button which will launch the Customizer tool.
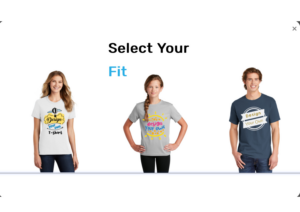
Step 2: Choose Your T-Shirt
Select the type of t-shirt you want to design from our variety of styles including classic, fitted, or long-sleeved options. Each style comes in multiple sizes and colors, enabling you to choose the perfect canvas for your design.
Step 3: Add Text and Graphics
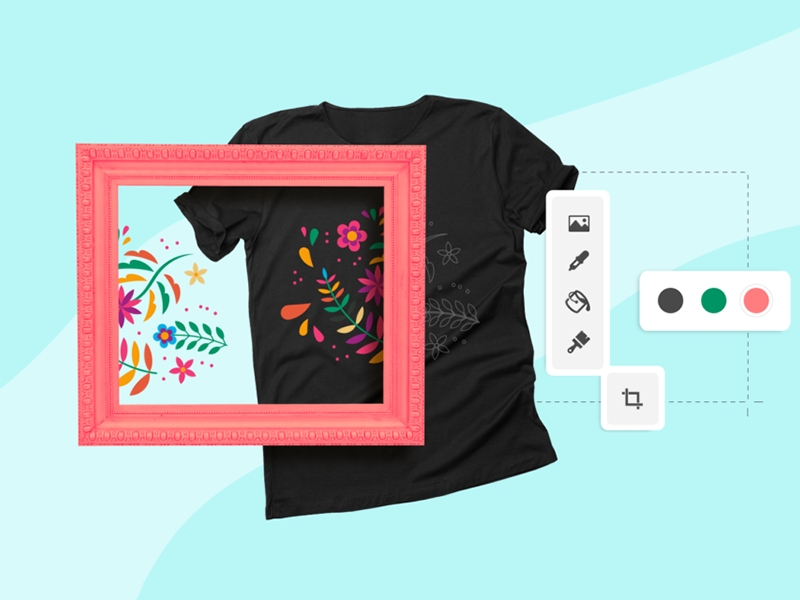
Once you’ve selected your t-shirt, it’s time to personalize it. The Customizer, Design Your T-Shirt tool offers a user-friendly interface where you can add text or graphics. You can choose from a vast library of fonts for your text and adjust the size, color, and placement to fit your design vision. For graphics, browse through our extensive collection of art or upload your own images to make your t-shirt truly unique.

Step 4: Experiment with Design Elements
With the Customizer tool, the possibilities are endless. Design Your T-Shirt Tool experiment with different layouts and design elements. Adjust the placement of your text and graphics to see what looks best. You can even layer multiple images or text boxes to create a more complex design.
Step 5: Preview and Adjust
Before finalizing your t-shirt, use the preview feature of the Customizer tool to see how your design will look on the actual product. This is your opportunity to make any necessary adjustments to ensure that everything is perfectly aligned and appears exactly as you want.
Step 6: Place Your Order
Once you are satisfied with your design, simply add the t-shirt to your cart and proceed to checkout. Pinehart offers secure payment options and you’ll be able to choose the delivery method that best suits your needs.
Design Your T-Shirt with Pinehart’s Customizer tool is not only fun but also incredibly easy. By following these simple steps, you can create a garment that showcases your unique sense of style. Dive into the world of custom apparel with Pinehart and design your t-shirt today!
How Do You Make Custom T-Shirt Transfers?
Creating custom t-shirt transfers is an exciting way to personalize your wardrobe. Start by choosing a design or creating one using graphic design software.
- Once you have your design, print it onto specialized transfer paper, which is available at most craft stores. Ensure your printer settings are adjusted for the type of transfer paper you are using.
- After printing, carefully cut out the design, leaving a small border around the edges.
- Preheat your t-shirt with an iron to remove any moisture, then place the transfer paper onto the shirt with the design facing down.
- Iron the paper in a circular motion under firm pressure for the time specified by the transfer paper instructions. Allow it to cool, then peel off the backing to reveal your custom design. Design Your T-Shirt with Pinehart now!
- How Are Custom T-Shirts Printed?
Custom t-shirts are commonly printed using several techniques, with screen printing being the most popular for its durability and color vibrancy. The process involves creating a stencil (or screen), and then using it to apply layers of ink on the t-shirt surface. Each color is applied using a different stencil, one at a time, to achieve the final look. Digital printing, another method, works best for Design Your T-Shirt that require detailed images or a wide range of colors. This method uses a specialized inkjet printer that prints the design directly onto the t-shirt, allowing for high-quality prints that are less labor-intensive than screen printing when Design Your T-Shirt.
How Do You Personalize a Shirt?
Design Your T-Shirt can be done in many creative ways, depending on your style and the resources available. One popular method is using iron-on transfers where you print a design onto special paper and transfer it onto the shirt using heat. Embroidery adds a rich texture and dimension, making the shirt look professionally crafted.
Fabric markers or paints are great for hand-drawn custom designs, providing a fun DIY project. Additionally, adding personalized patches, pins, or sewing on fabric pieces can give your shirt a unique appearance that reflects your personal style.
Custom Tee: How to Sell T-Shirts Online
Selling custom t-shirts online can be a lucrative business. Start by Design Your T-Shirt that appeal to a specific audience or trend. Set up an online store using platforms like Shopify, Etsy, or eBay, which streamline the selling process and help reach a wider audience. High-quality product photography and clear, concise descriptions will enhance your listings. Utilize social media marketing to promote your products effectively. Consider using print-on-demand services to avoid inventory overhead, allowing these services to print and ship t-shirts as orders come in, reducing the risk and initial investment.
Also read: Team Spirit Shirt Collection
How to Make Custom T-Shirts at Home
Design Your T-Shirt with Pinehart at home is a great way to express creativity. You can start with simple tools like iron-on transfers where you print a design onto transfer paper and apply it with heat. Screen printing is another option, though it requires more equipment. You can make a simple screen frame from a wooden frame and silk fabric, then use it to apply ink to the t-shirt. For a simpler method, try using fabric markers or paints to draw directly on your t-shirt. This is a great project for beginners and can also be a fun activity for events like family gatherings or team-building exercises.
Also you can visit our DTF CENTER for perfect mach for you and your family!
How to Make T-Shirts for Beginners
For beginners, the easiest method to Design Your T-Shirt is using iron-on transfers. This requires minimal equipment—just transfer paper, a printer, and an iron. Choose or create a design on your computer, print it on the transfer paper, and then iron it onto your t-shirt. Fabric markers are another beginner-friendly option, allowing for freehand drawing directly on the t-shirt. These methods are excellent for those just starting out, providing a straightforward way to create custom apparel without the need for complex equipment.
How to Customize a T-Shirt by Cutting
Customizing a t-shirt by cutting is a simple way to add a personal touch. Start with a plain t-shirt, and plan your cuts using a chalk or a fabric marker. You can cut off the sleeves, create crop tops, or cut slits along the back or sides to create interesting patterns. Always cut smaller sections initially, as you can always enlarge them later. Stretching the cut edges can help create a smooth, rolled look. This method requires no sewing and can transform an old t-shirt into a new fashionable piece.
Design Your T-Shirt Professionally with Pinehart
Professional t-shirt printing often involves screen printing due to its efficiency in producing large batches and its ability to use vibrant, durable inks. The process starts with creating a high-resolution design, transferring it to a stencil, and securing the stencil onto a screen. Each color in the design requires a separate screen. During printing, ink is pushed through the stencil onto the fabric with a squeegee. Ensuring the consistency of ink and the alignment of stencils is crucial for professional results.